建立 ExecuTorch iOS 示範應用程式
歡迎來到設定 ExecuTorch iOS Demo App 的教學!
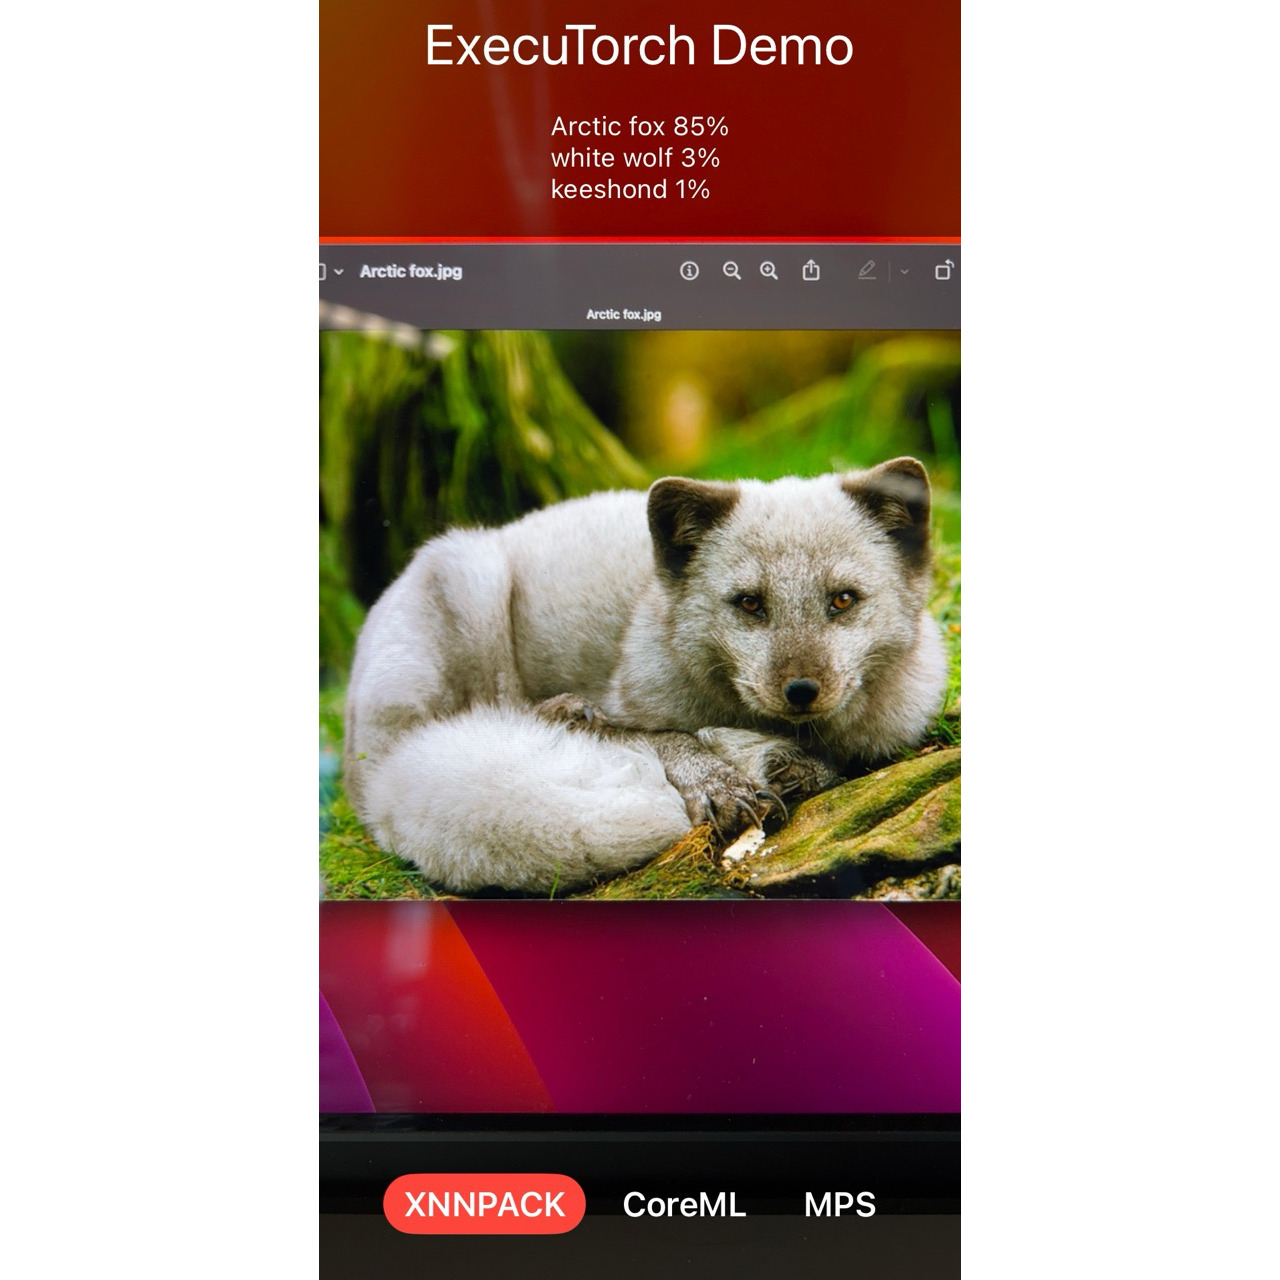
此 App 使用 MobileNet v3 模型來處理即時相機影像,並利用三種不同的後端:XNNPACK、Core ML 和 Metal Performance Shaders (MPS) (僅限 Xcode 15+ 和 iOS 17+)。
先決條件
在開始之前,請確認您已安裝以下工具:
1. Xcode 15 和 Command Line Tools
從 Mac App Store 安裝 Xcode 15,然後使用終端機安裝 Command Line Tools。
xcode-select --install
2. Python 3.10+
Python 3.10 或更高版本,以及 pip,應該已預先安裝在 MacOS 13.5+ 上。如果需要,請下載 Python 並安裝。使用以下指令驗證 Python 和 pip 版本:
which python3 pip
python3 --version
pip --version
3. Getting Started 教學
依照 Setting Up ExecuTorch 教學來設定基本環境。
git clone https://github.com/pytorch/executorch.git --depth 1 --recurse-submodules --shallow-submodules
cd executorch

python3 -m venv .venv && source .venv/bin/activate

pip install --upgrade cmake pip setuptools wheel

./install_requirements.sh --pybind coreml mps xnnpack
模型和標籤
現在,讓我們繼續匯出和打包 MobileNet v3 模型。
1. 匯出模型
使用 Core ML、MPS 和 XNNPACK 後端匯出 MobileNet v3 模型,並將匯出的模型移動到 Demo App 將會讀取的特定位置。
MODEL_NAME="mv3"

python3 -m examples.portable.scripts.export --model_name="$MODEL_NAME"
python3 -m examples.apple.coreml.scripts.export --model_name="$MODEL_NAME"
python3 -m examples.apple.mps.scripts.mps_example --model_name="$MODEL_NAME"
python3 -m examples.xnnpack.aot_compiler --model_name="$MODEL_NAME" --delegate

mkdir -p examples/demo-apps/apple_ios/ExecuTorchDemo/ExecuTorchDemo/Resources/Models/MobileNet/
mv "$MODEL_NAME*.pte" examples/demo-apps/apple_ios/ExecuTorchDemo/ExecuTorchDemo/Resources/Models/MobileNet/
2. 下載標籤
下載圖像分類所需的 MobileNet 模型標籤。
curl https://raw.githubusercontent.com/pytorch/hub/master/imagenet_classes.txt \
  -o examples/demo-apps/apple_ios/ExecuTorchDemo/ExecuTorchDemo/Resources/Models/MobileNet/imagenet_classes.txt
最後步驟
我們快完成了!現在,我們只需要在 Xcode 中打開專案,執行測試,最後執行 App。
1. 在 Xcode 中打開專案
雙擊 examples/demo-apps/apple_ios/ExecuTorchDemo 下的專案檔案,或執行以下指令:
open examples/demo-apps/apple_ios/ExecuTorchDemo/ExecuTorchDemo.xcodeproj
2. 執行測試
您可以直接在 Xcode 的模擬器上使用 Cmd + U 執行測試,或使用指令列:
xcrun simctl create executorch "iPhone 15"
xcodebuild clean test \
     -project examples/demo-apps/apple_ios/ExecuTorchDemo/ExecuTorchDemo.xcodeproj \
     -scheme App \
     -destination name=executorch
xcrun simctl delete executorch
3. 執行 App
最後,連接裝置,在 Xcode 中設定 Code Signing,然後使用 Cmd + R 執行 App。嘗試安裝 Release 版本以獲得更好的效能。
恭喜!您已成功設定 ExecuTorch iOS Demo App。現在,您可以探索並享受 ExecuTorch 在您的 iOS 裝置上的強大功能!
了解更多關於整合和執行 ExecuTorch on Apple 平台。